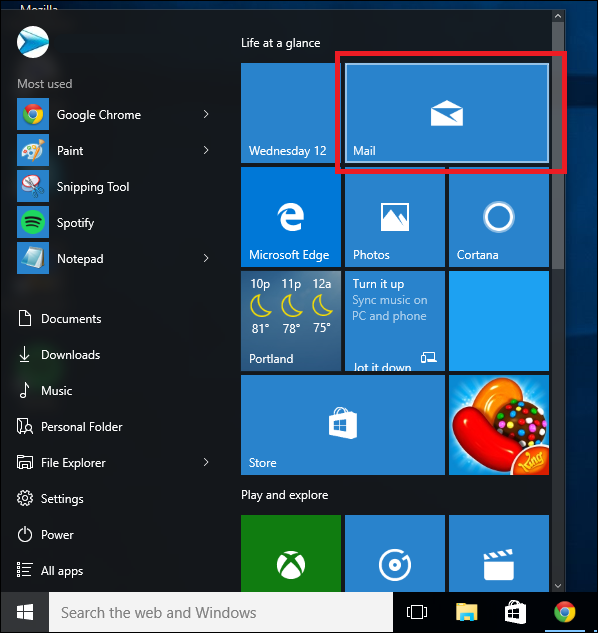
After you’ve been assigned your email address, open the Windows 10 Email app either from the Start menu or your list of apps.
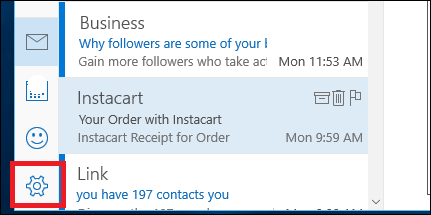
Once here, find the Settings icon, which is located in the bottom left corner of the Mail app.
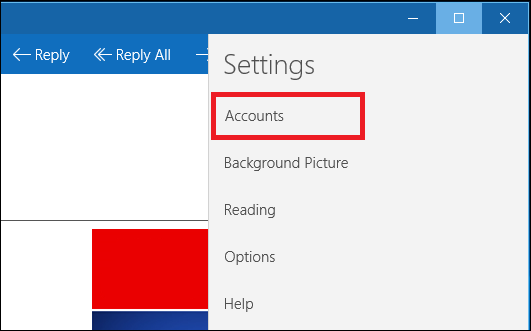
Click in, and on the menu which pops up from the right hand side, choose the “Accounts” option.
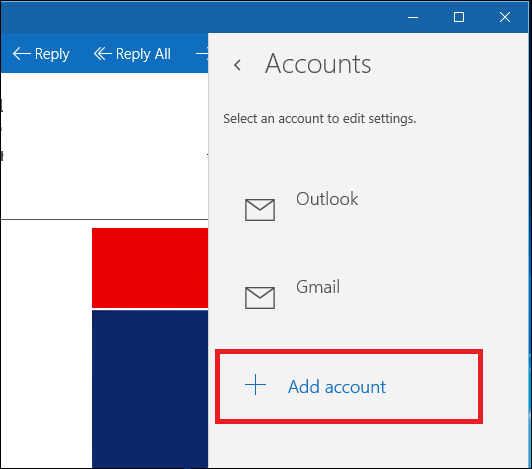
From here the menu will show you a list of all the accounts you currently have linked to the Windows 10 app. Select the option to “Add account” with the plus sign attached, and you’ll be greeted by the prompt below.
In order to add a POP3 based account, in the list of available providers you’ll want to choose “Advanced Setup”, highlighted below.
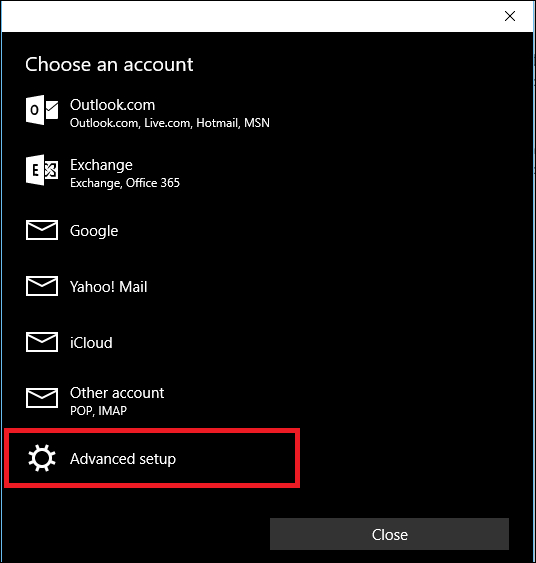
After you click this you’ll be taken to the following window, where you need to select the choice for “Internet Email”.
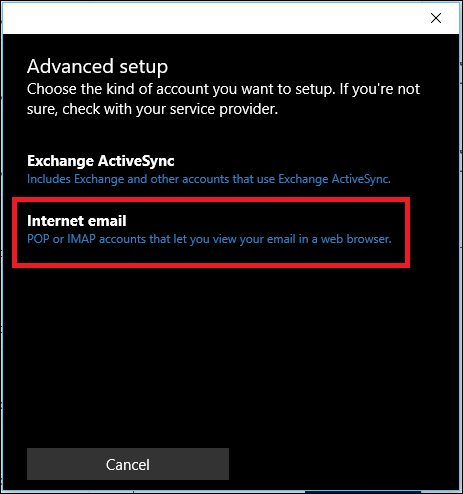
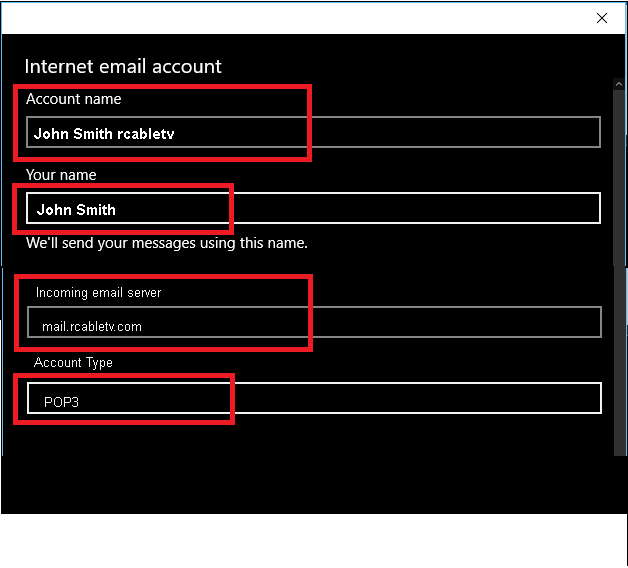
After you’ve selected Advanced Email, you’ll need to enter all the information for your rcabletv.com email service.
First, choose a name for the account that Windows can use to label it and make it distinctive from any other providers you may have already added previously.
Next, fill out your username (which is the same as your email address) and your password.
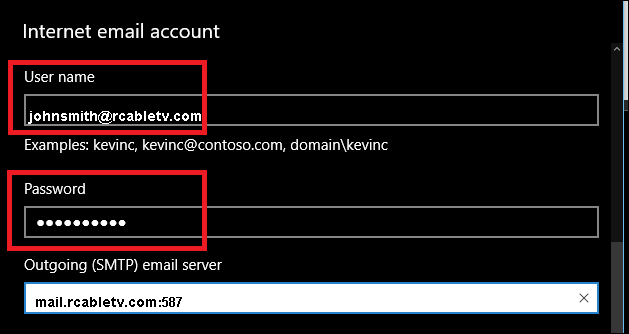
After that, plug in the incoming POP server information (once you’ve chose POP3 from the drop-down menu), and the outgoing SMTP address.

A completed form should look something like this, with the username, password, and completed SMTP account info all filled out and ready to go.
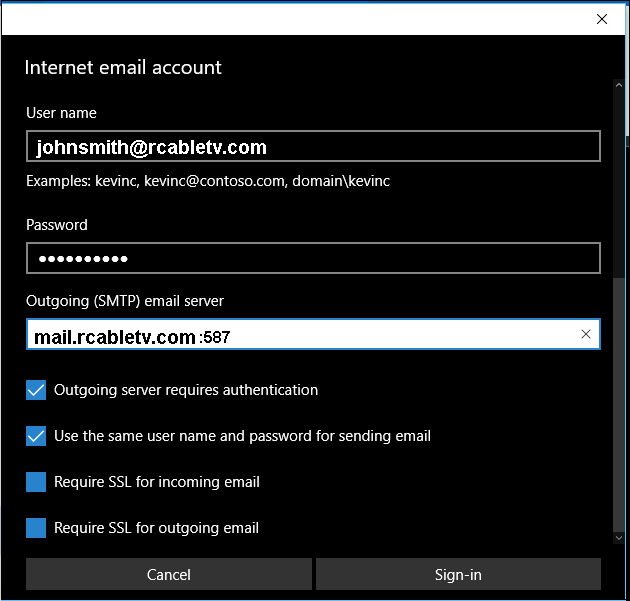
In this window check (or uncheck) the boxes like you see below:
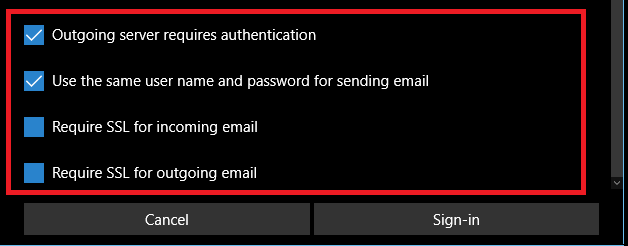
Once this is all done, click Sign-in, and you’re good to go.
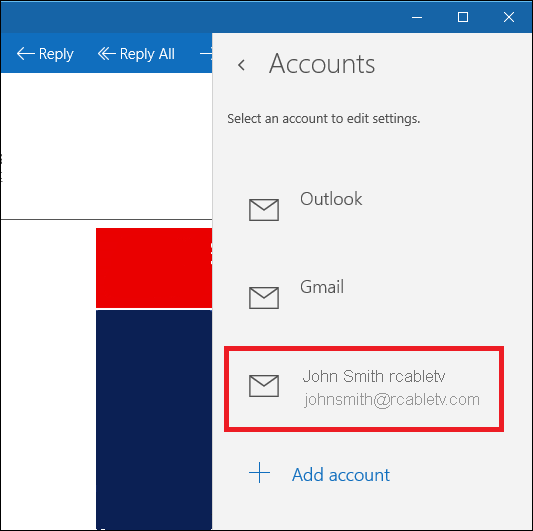
If the account was added successfully, you should now see it appear on the right-hand pop up bar which lists all accounts tied to the Windows Mail ecosystem.
After the Mail app confirms your account has gone through, it’s best to verify that the email actually works by either having a friend send you a test email, or creating one yourself from a third-party account.